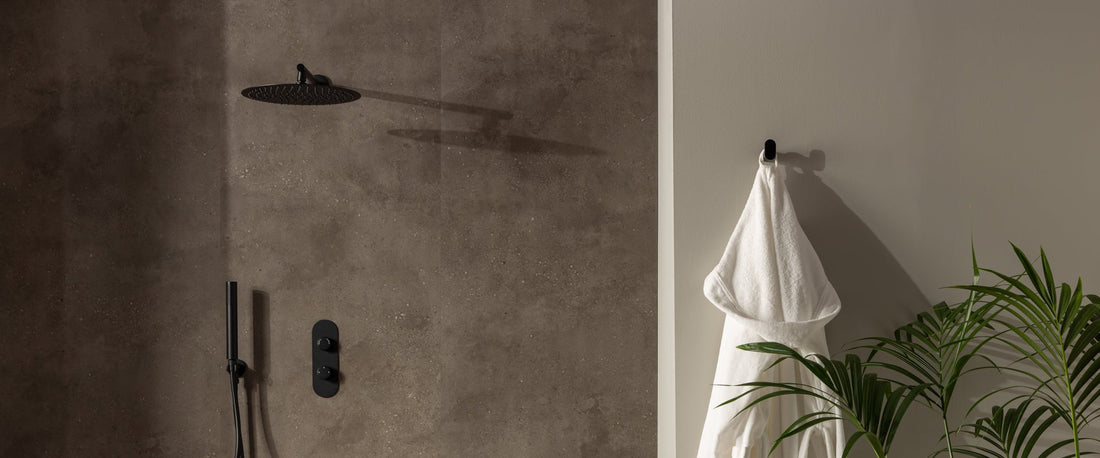
How to Fit Elemence Shower Panels: A Simple Guide
Transform your bathroom with the effortless elegance of Elemence Shower Panels. Designed for quick and straightforward installation, you can achieve a luxury look in just a few hours with no grout, no mess, and no fuss. Follow this simple guide, and you’ll be ready to enjoy your beautiful new walls in no time.
What You’ll Need
Essentials:
- Elemence Shower Panels (and any optional decorative trims)
- Sanitary sealant
- Grab adhesive
- Sealant gun
- Sealant finishing tool

Helpful Extras:
- Tape measure
- Spirit level
- Pencil
- Fine-toothed hand saw, jigsaw, circular saw, or hole saw
- PPE (dust mask, protective eyewear, gloves)
- Construction wipes
- Rubber mallet
How to install your Elemence Shower Panels
Step 1: Get to Know Your Panels
Understanding your panels is key:
- Panel size: 2400mm (H) x 607mm (W) x 4.5mm (D)
- Coverage per panel: 1.44m²
Pro Tip: If storing your panels before fitting, keep them flat and let them acclimatize to the room for 24 hours before installation.
Step 2: Plan Ahead
Preparation is everything!
- Remove any screws or fixtures from your walls. If installing over tiles, ensure the surface is clean and smooth.
- Use a spirit level to check your walls and bath or shower tray for evenness.
- Clean, smooth, and level your walls before starting.
Top Tip: Tanking your walls (creating a waterproof barrier) ensures the best results. - Decide on your panel layout. Begin in the corner, positioning the tongue edge there, so the groove edge is ready for the next panel.
Step 3: Cut Panels to Fit
Not all walls are a perfect fit, that’s where cutting comes in.
- Wear appropriate PPE for safety.
- Measure the height and width of your walls to calculate adjustments.
- Mark your panels with a pencil, using a straight-edge or spirit level.
- Use a fine-toothed hand saw or jigsaw to cut the panels face-up.
Top Tip: Trim off the tongue or groove edge for a cleaner finish on end panels.
Step 4: Fitting Around Fixtures
For fittings and pipes, precise cuts are essential.
- Mark where pipes or fittings are located on the panel.
- Use a hole saw to create the necessary openings.
- Test-fit your panel and make adjustments as needed.
- Seal around any holes with sanitary sealant for a watertight finish.
Step 5: Install Your Panels
Now the exciting part—bringing your vision to life!
- Test-fit each panel before applying adhesive.
- Leave a 2-3mm gap at the base and edges for sealant using packers.
- Apply grab adhesive in 6mm wavy lines to the back of the panel.
Top Tip: One tube of adhesive covers one panel. - Press the panel to the wall, ensuring it’s level with a spirit level.
- Use the AquaGuard locking system: angle the tongue edge into the groove edge at 30 degrees, then click the panel back into place.
- Repeat for additional panels.
Step 6: Give Your Walls an Edge
Finish your project with Elemence trims for a polished look:
- Fit corner trims with grab adhesive before installing the panels.
- Add a bead of sealant to other decorative trims for watertight joins.
Step 7: Seal the Deal
- Apply sanitary sealant to all edges, gaps, and cut-outs for a watertight finish.
- Use a finishing tool to smooth the sealant for a neat result.
Step 8: Admire Your New Look
Step back and take in the transformation—your beautiful new walls are ready to impress!
Need Help?
If you have any questions or need assistance, our customer service team is here to help. Contact us at info@naturewall.com or read our shower panels buyers guide.
